Non-Chinese language Recording Methods and Process
When users need to develop voice recognition solutions that support Chinese dialects or foreign languages, they can develop the corresponding language models on Chipintelli’s AI Speech Development Platform. The platform currently supports over 11 languages, with continuous updates in progress.
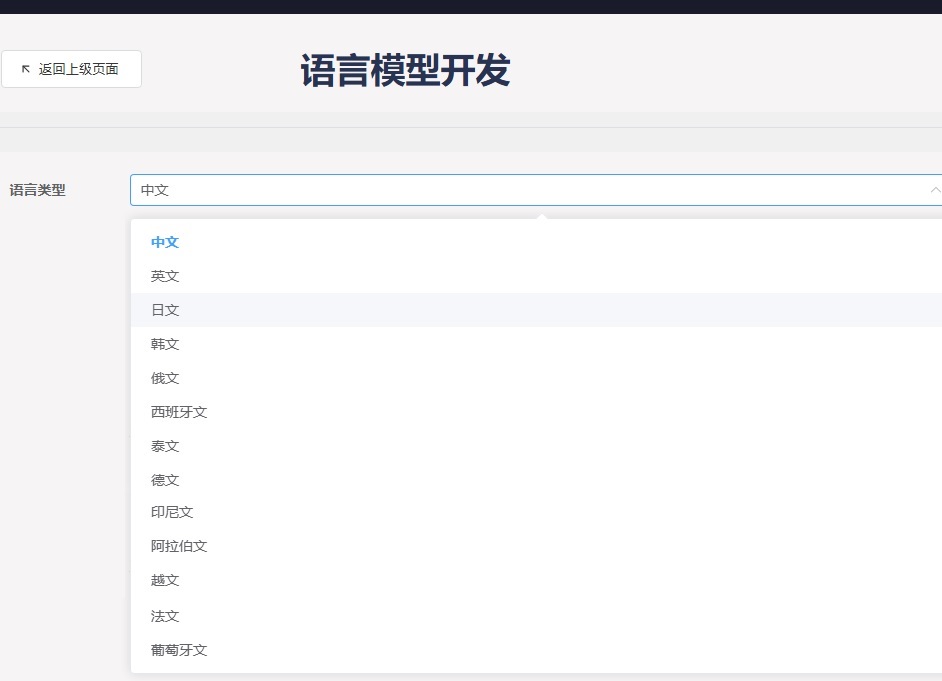
If the development platform does not currently support your required dialect or foreign language, you can use the “Non-Chinese language Recording Methods and Process” to enable your product solution to recognize Chinese dialects or foreign languages.
1. Entry Confirmation
When creating a language model, the total number of wake words and command words combined must not exceed 20 (wake words + command words ≤ 20). The formulation rules for command words can be referenced in the “Command Word Playback List V3_English Template”.
1.1 Confirming Non-Chinese language Command Word Entries
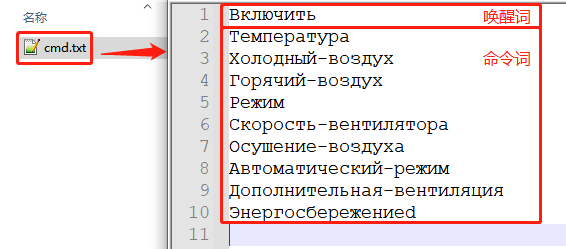
To develop a Non-Chinese language voice product, first create a text file named cmd.txt on your computer. Fill it with the proposed wake words and command words (replace any spaces with hyphens), then save it for later use. The following example uses Russian:
2. Recording Equipment Selection
2.1 Official Recording Equipment
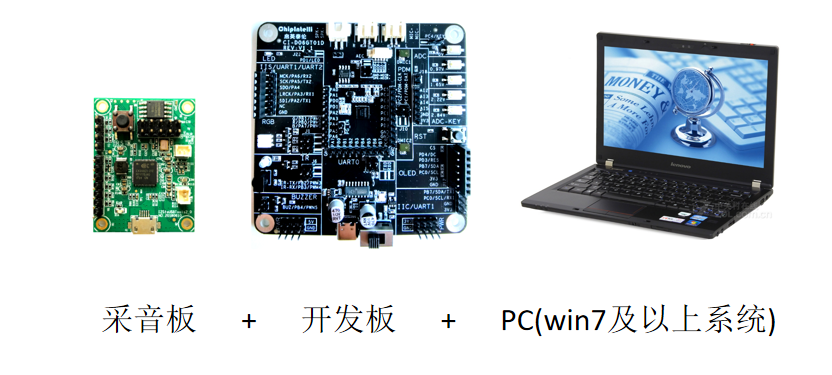
It is recommended to use our “Development Board” paired with a “Dedicated Sound Capture Board” connected to a PC for recording Non-Chinese language audio.
2.1.1 Development Board
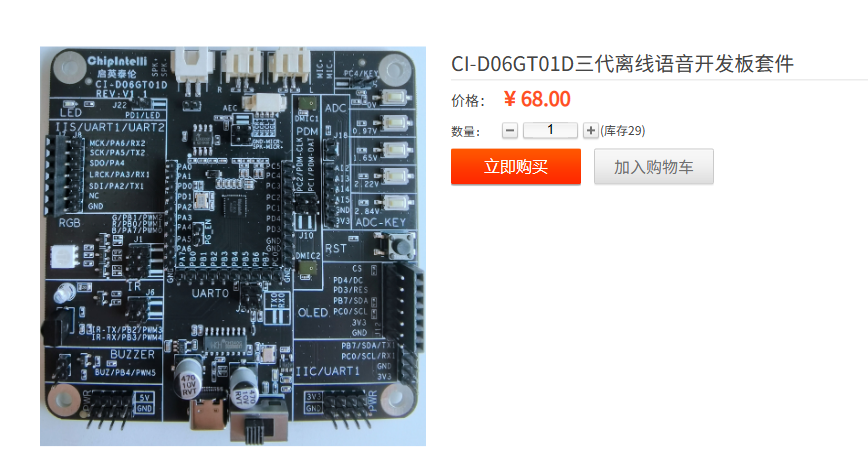
We recommend using the CI-D06GT01D V3 offline voice development board equipped with Chipintelli’s V3 intelligent voice recognition chip. You can purchase samples on our official website.
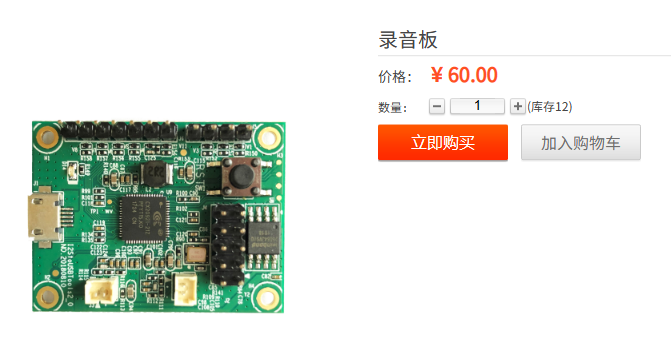
2.1.2 Sound Capture Board
The sound capture board, also known as the recording board, is an essential peripheral that works with the development board to capture audio in real-time through IIS transmission. It can be purchased on our official website.
2.1.3 Assembly and Computer Connection
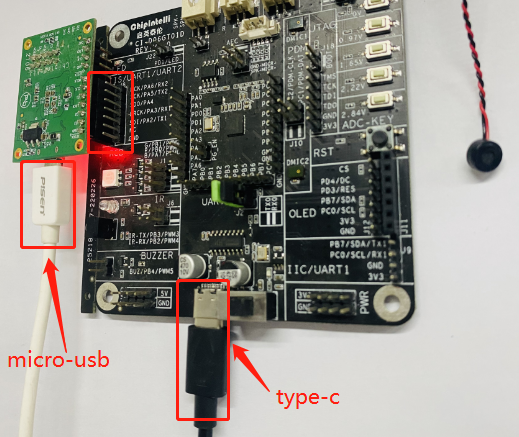
① Connect the sound capture board to the development board. For the CI-D06GT01D development board, you can directly insert the corresponding pins of the sound capture board into the female headers. Finally, connect both the development board and sound capture board to the computer using Type-C and micro-USB cables respectively.
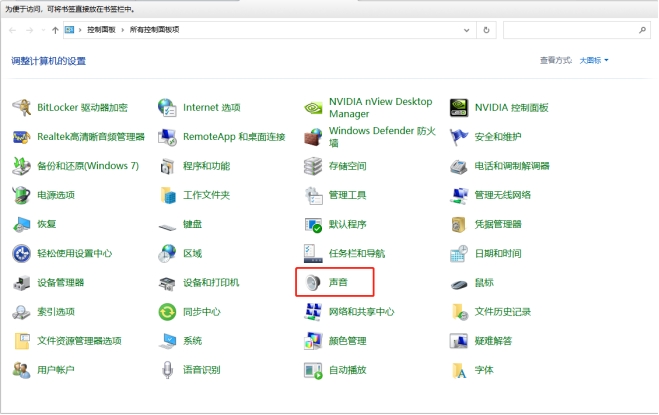
② After connecting both the development board and sound capture board to a PC with Windows 10 or above, you need to perform some simple pre-recording configurations. First, open “Control Panel” and click on “Sound”.
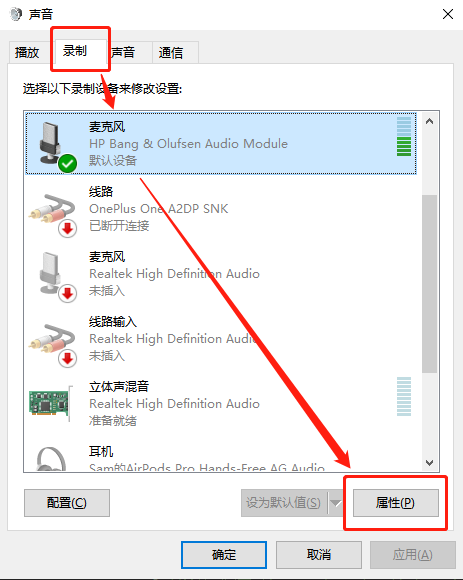
③ Click on “Recording”, then right-click on the microphone corresponding to the sound capture board and select “Properties” (set the recording microphone as the default device).
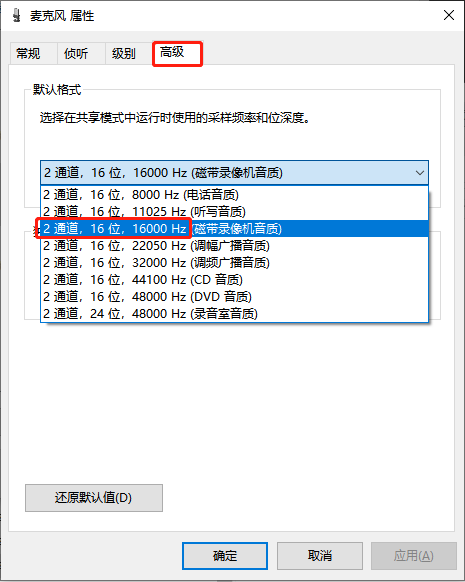
④ In the microphone properties, click on “Advanced” and select “2 channel, 16-bit, 16000Hz…” from the default format dropdown, then click “OK” to complete the configuration.
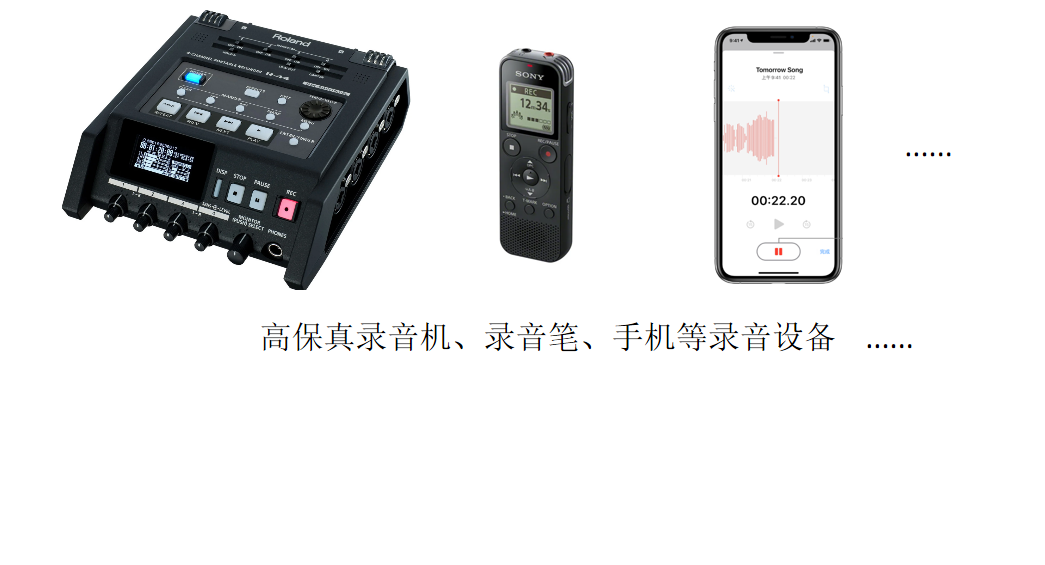
2.2 Alternative Recording Equipment (Skip if using official recording equipment)
In addition to our recommended recording equipment, you may also use the following high-fidelity devices for recording, though the results may be slightly inferior:
3. Recording Software Installation
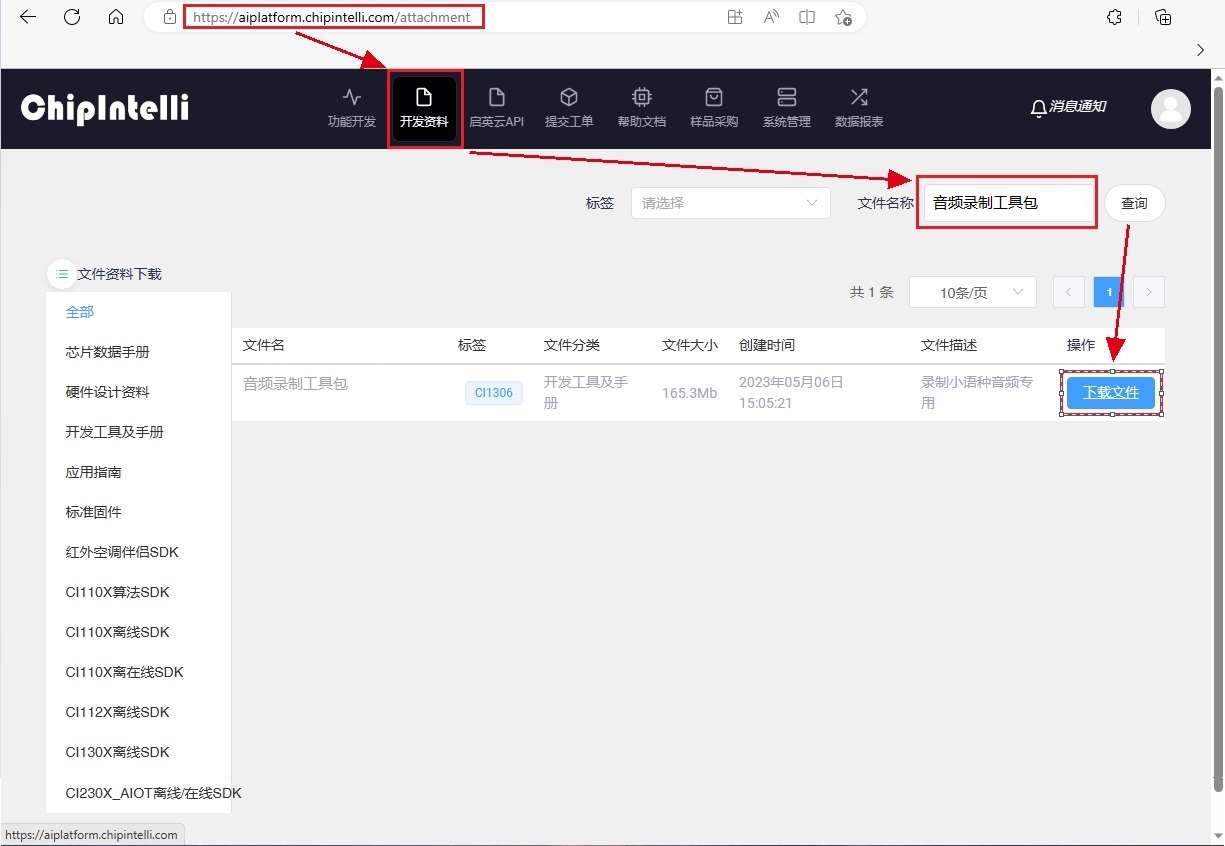
3.1 Download the “Audio Recording and Processing Toolkit”
In the Chipintelli AI Platform’s development materials, search for “Audio Recording and Processing Toolkit” in the file name, then download the corresponding toolkit to your computer.
3.2 Install PC Recording Software
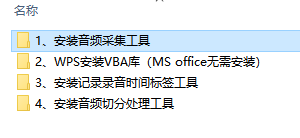
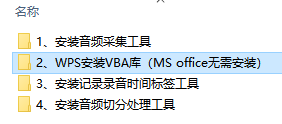
Extract the “Audio Recording and Processing Toolkit”. First, open the “1. Install Audio Capture Tool” folder and install the open-source recording software Audacity. We will use this software as an example for demonstration.

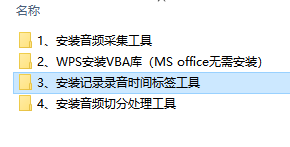
3.3 Install VBA Library for WPS (Not required for MS Office)
When using the “Recording Time Label Tool”, Office tools are required. If you have WPS installed on your computer, please install the VBA library from this folder. If you have MS Office installed, you can skip this step.
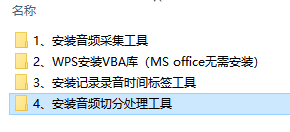
3.4 Install Recording Time Label Tool
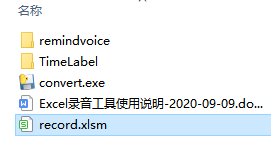
Open the “3. Install Recording Time Label Tool” folder and extract the “记录录音时间标签工具_V2.3.zip” file to get the “release_standor” tool. It includes a document named “Excel录音工具使用说明-2020-09-09.docx” for reference.

3.5 Install Audio Segmentation Processing Tool
Open the “4. Install Audio Segmentation Processing Tool” folder and extract the “AudioProcessing.zip” file to get the “AudioProcessing” tool. It includes a document named “音频处理工具使用说明.pdf” for reference.
3.6 Download Special Firmware for Development Board Recording
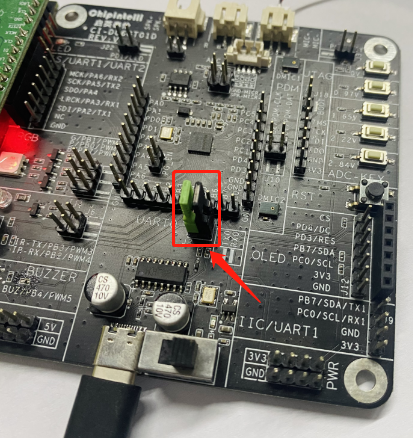
3.6.1 Development Board Download Port Connection
Insert two jumpers into the J2 header.
3.6.2 Firmware Programming and Download
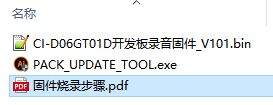
Open the “5. Development Board Recording Firmware” folder and follow the steps in the “固件烧录步骤.pdf” document (sections 3 and 4) to program the “CI-D06GT01D开发板录音固件_V101.bin” firmware using the “PACK_UPDATE_TOOL.exe” tool.

4. Recording Conditions and Requirements
4.1 Number of Participants
The number of participants in the audio recording must satisfy the following formula, with a balanced gender ratio as close to 1:1 as possible:

4.2 Recording Environment
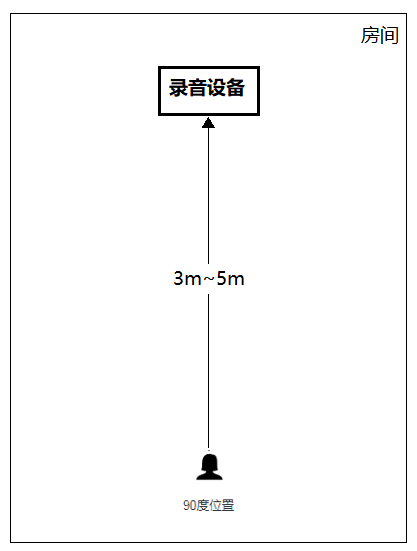
The recording equipment should be set up in a relatively quiet room environment, preferably with minimal reverb and no noticeable echoes. The distance between the participant and the microphone of the recording device should be 3-5 meters.
5. Start Recording Non-Chinese language Samples
Before the recording personnel enter the room to begin recording, the following operations need to be performed:
5.1 Configure the “Recording Time Label Tool”
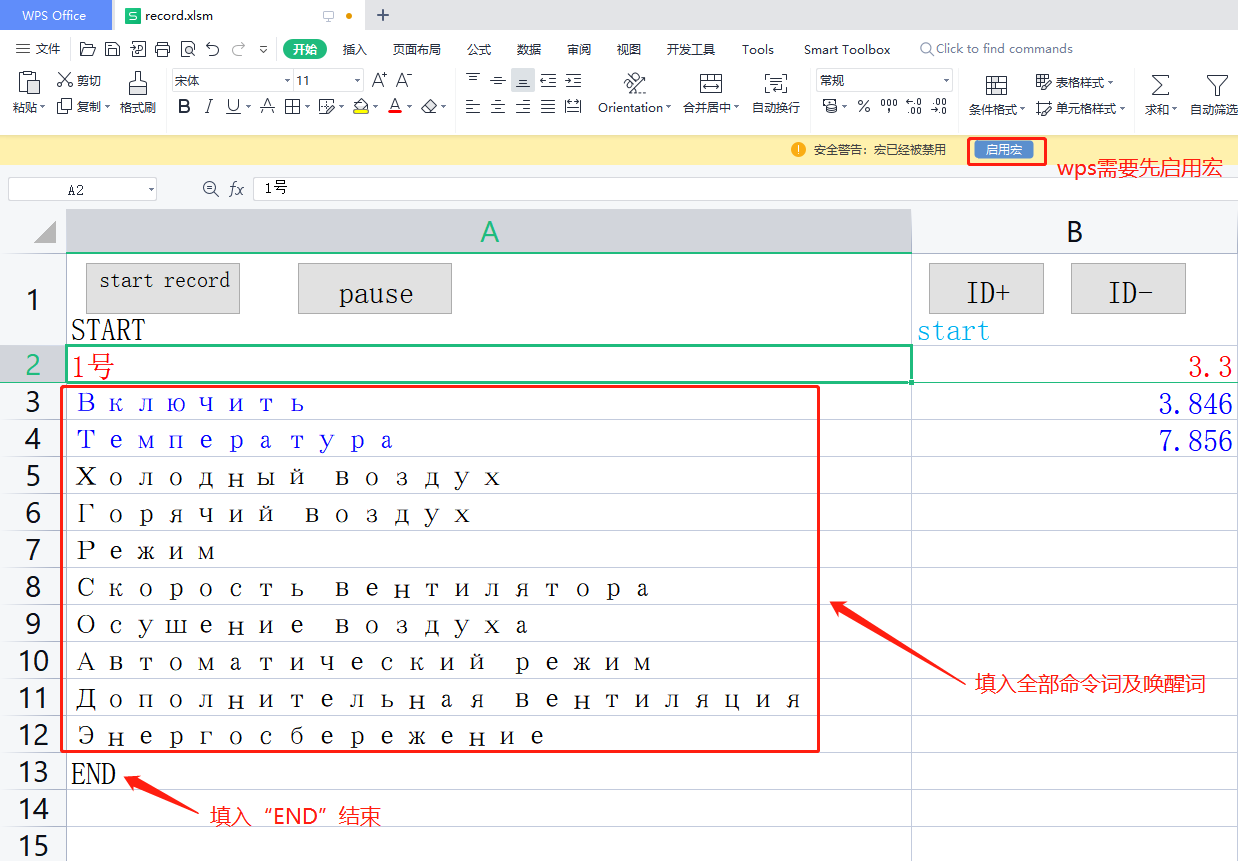
① Open the “release_standor” folder in the toolkit and double-click “record.xlsm” (macros must be enabled).
② Enter the previously proposed wake words and command words in the first column of the Excel sheet, followed by “ENG” to mark the end.
5.2 Configure “Audacity” Recording Software
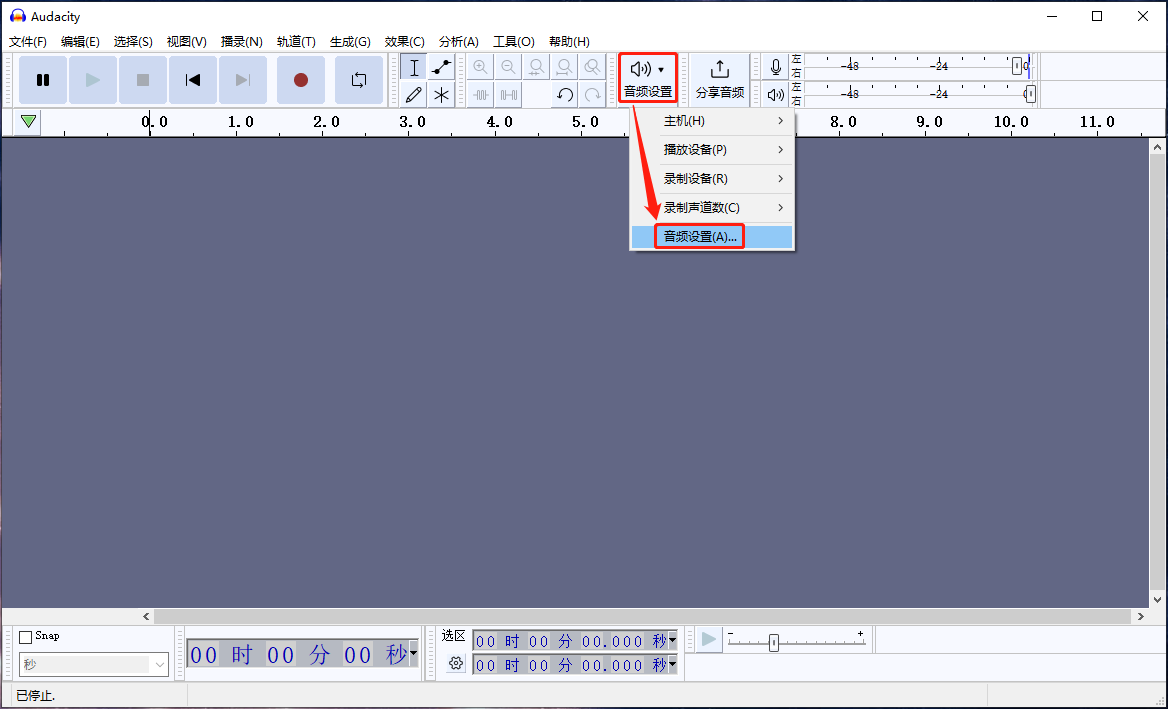
① Open the “Audacity” recording software, click on “Audio Settings”, and enter “Audio Settings…”
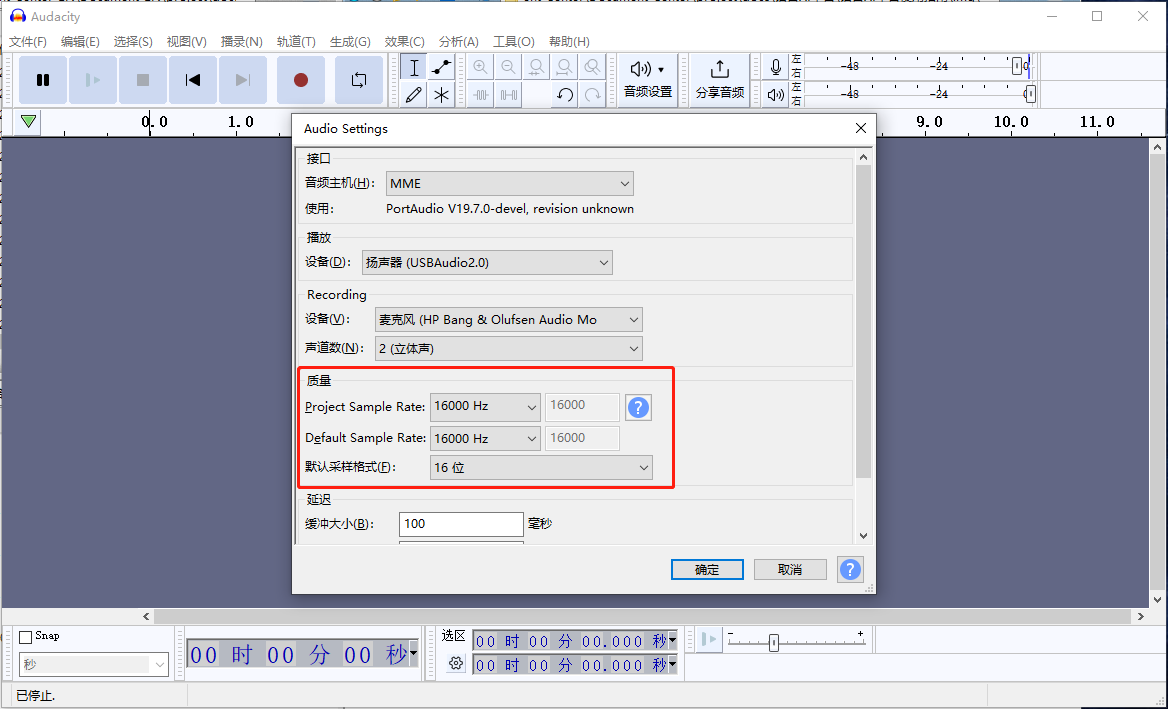
② Set the default sample format (16-bit) and sample rate (16000Hz), then click “OK”:
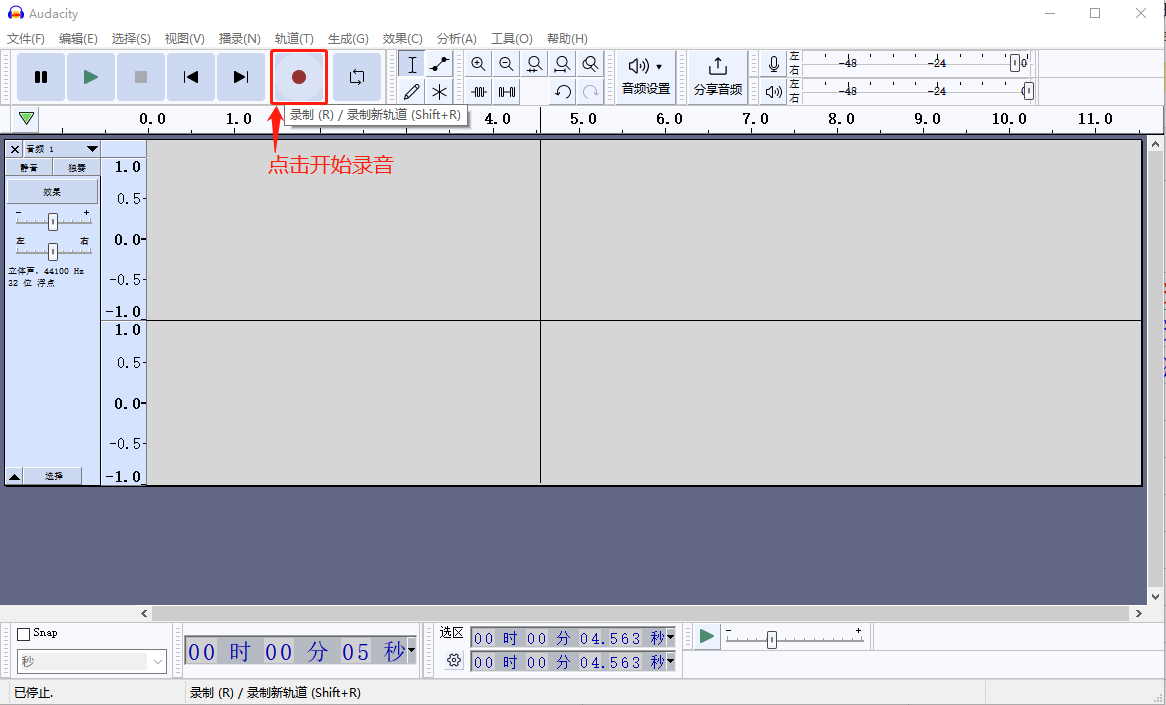
5.3 Begin Recording
① One operator should handle the equipment while the first recording participant enters the room and sits 3-5 meters from the recording device. The operator should click the “Record” button on the computer.
② Click the “start record” button in the Excel sheet, then manually press the ↓ arrow key. After hearing the prompt tone (indicating the test is starting), the participant should read the corresponding command word from the Excel sheet. After reading each command word, press the ↓ arrow key to continue. If a mistake is made, press the ↑ arrow key to repeat the previous command word.