Text-To-Speech(TTS) Development
1. How to Develop Voice Prompts with TTS
1.1. Using the AI Platform to Develop Voice Prompts
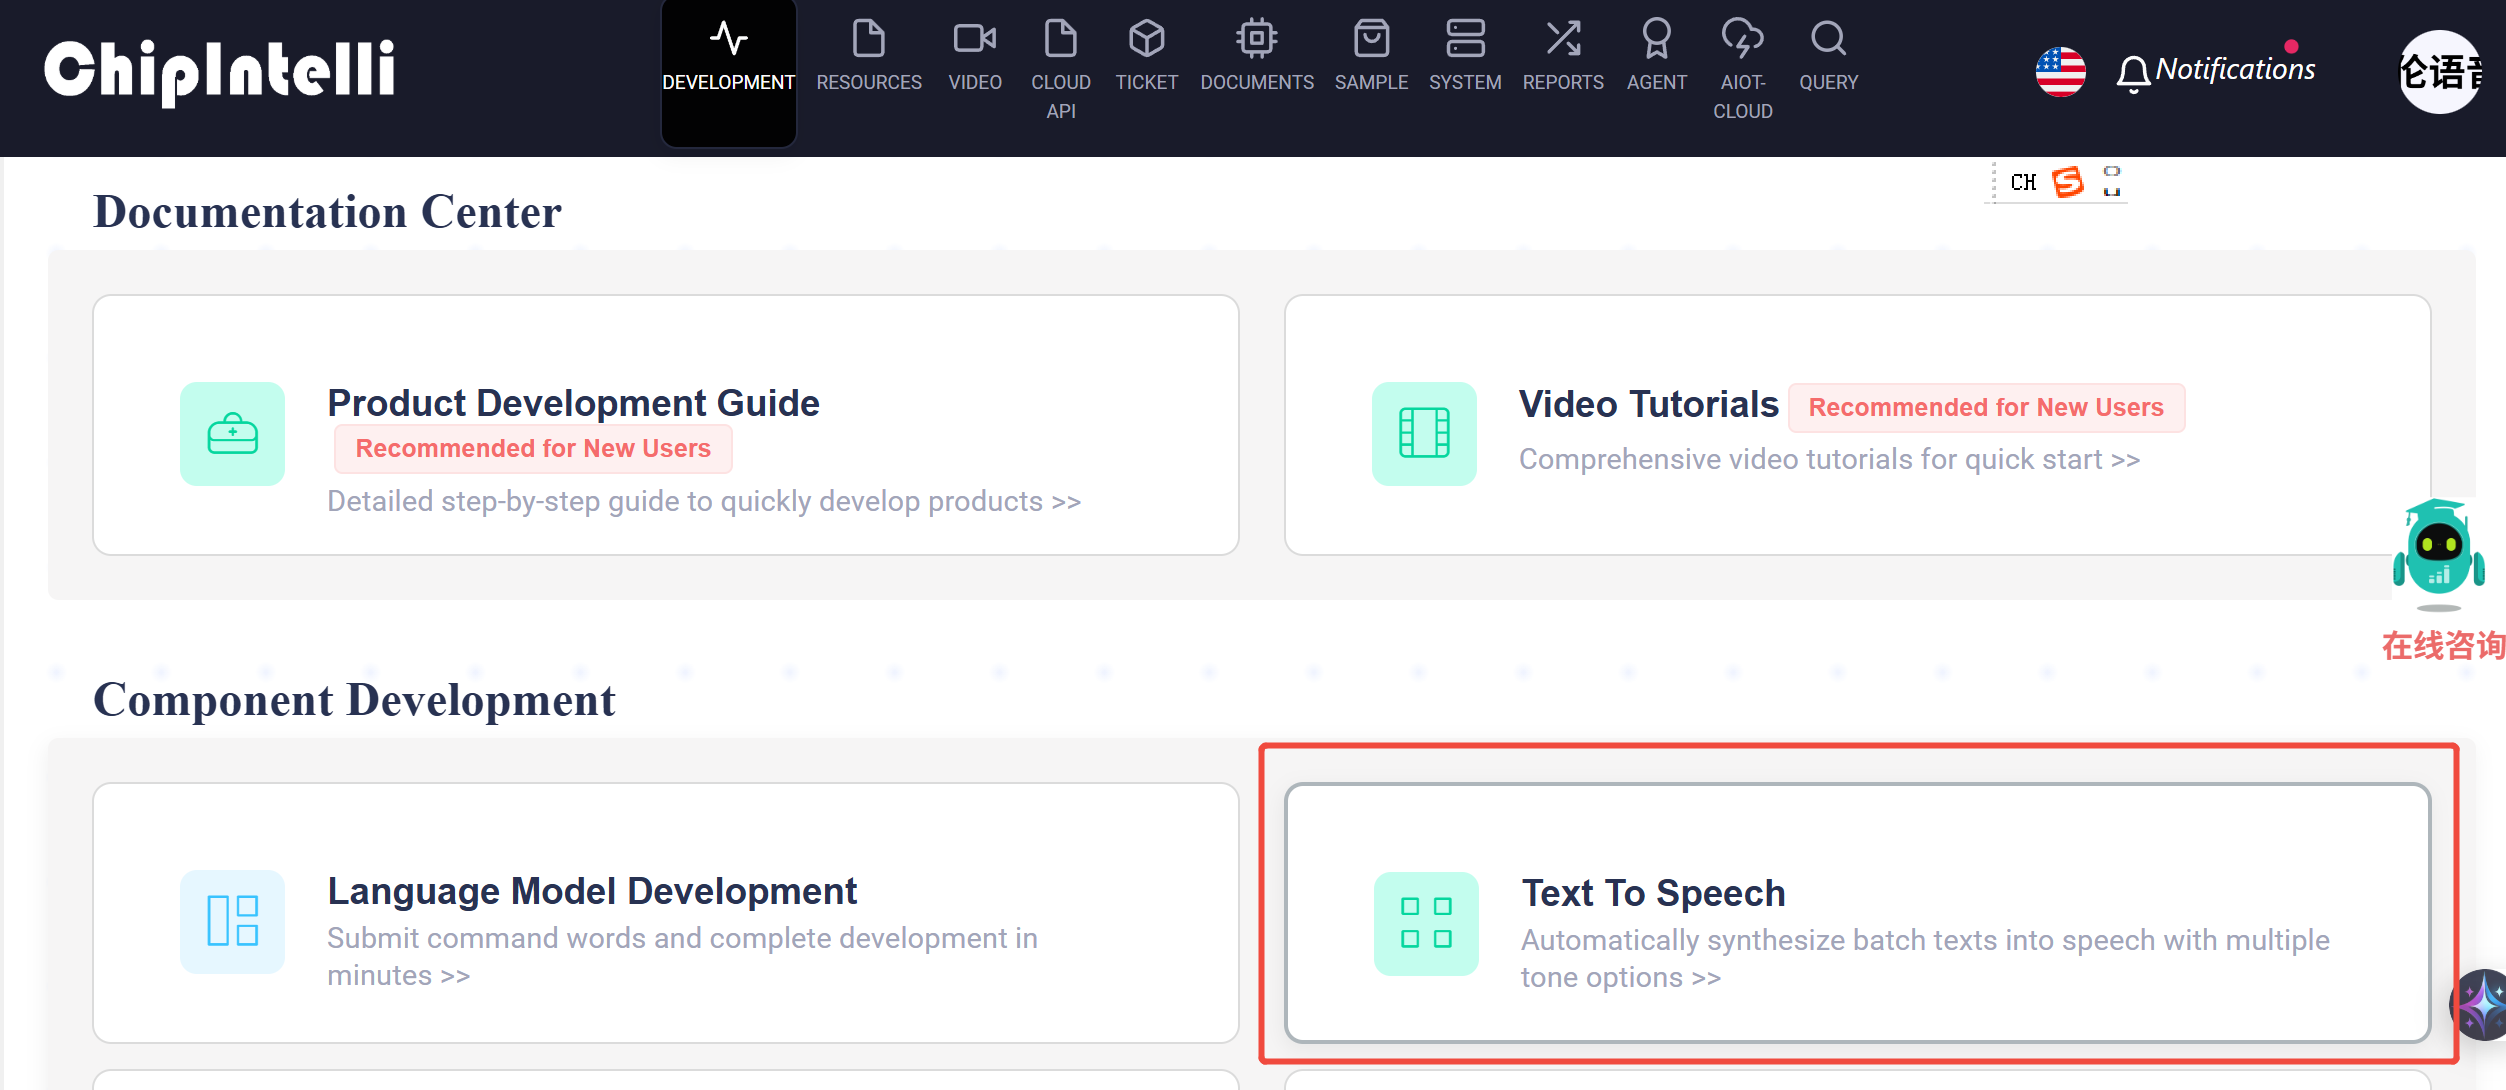
1.1.1. Locate the “Text to Speech” feature in the voice development section
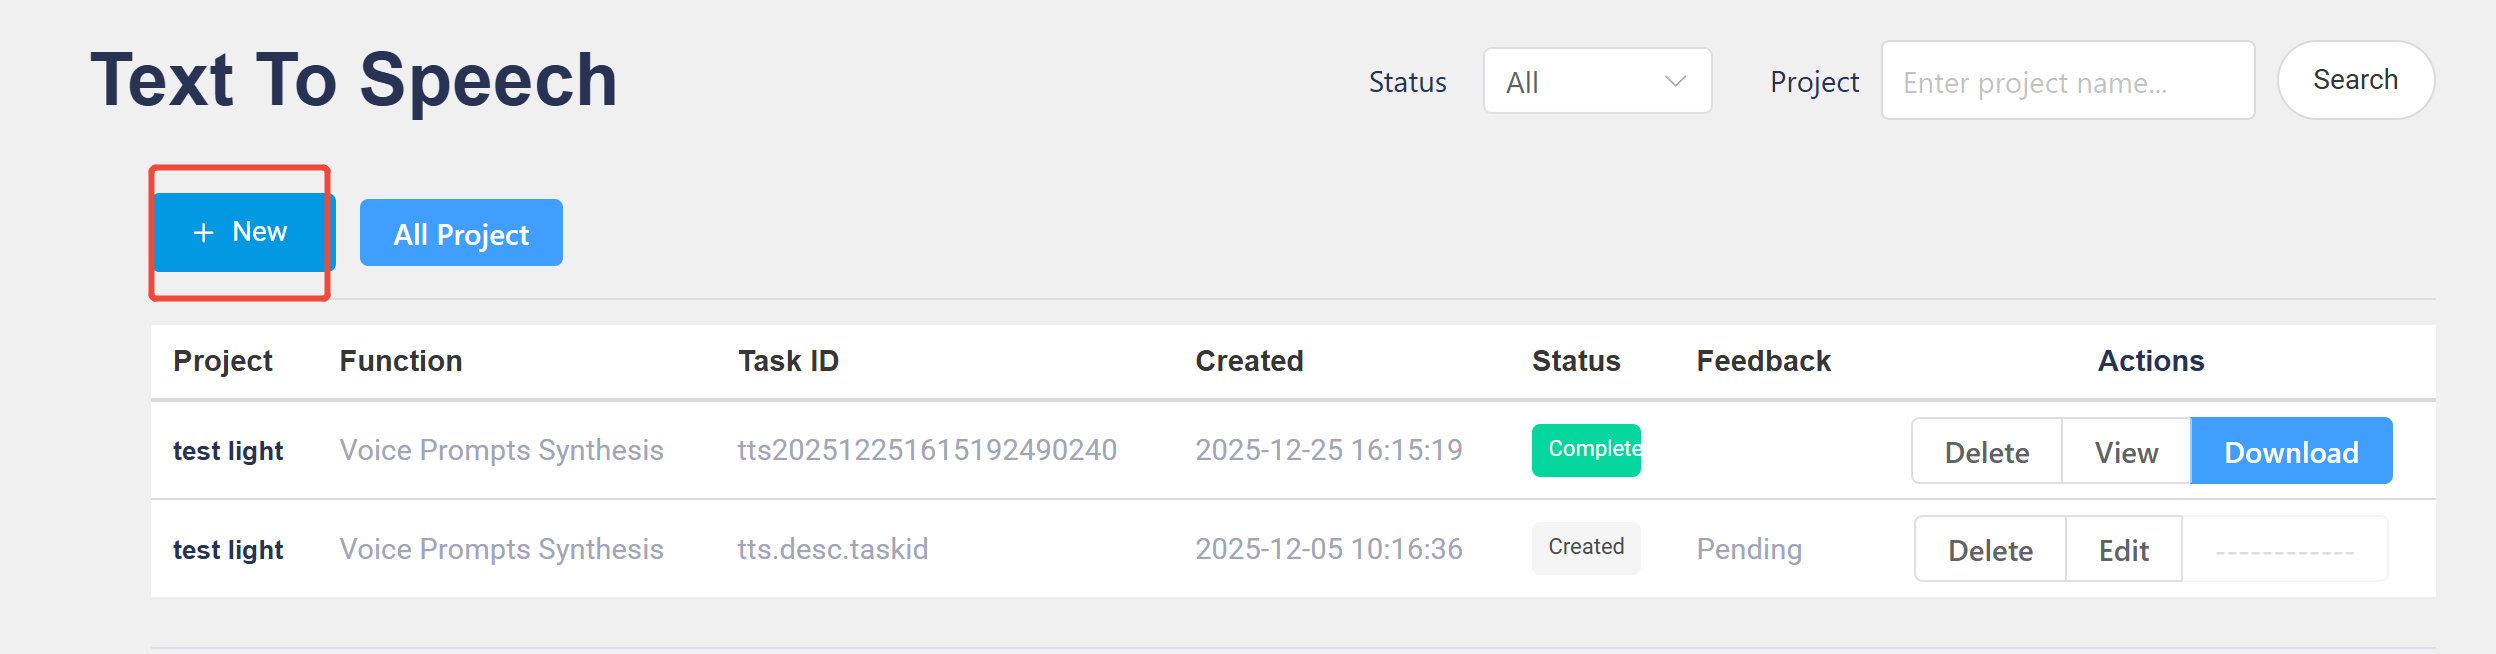
1.1.2. Click the “New” button
1.1.3. Fill in the information
a. Modify the project name
b. Select the language
c. Choose the tone, adjust the speech rate, and adjust the volume

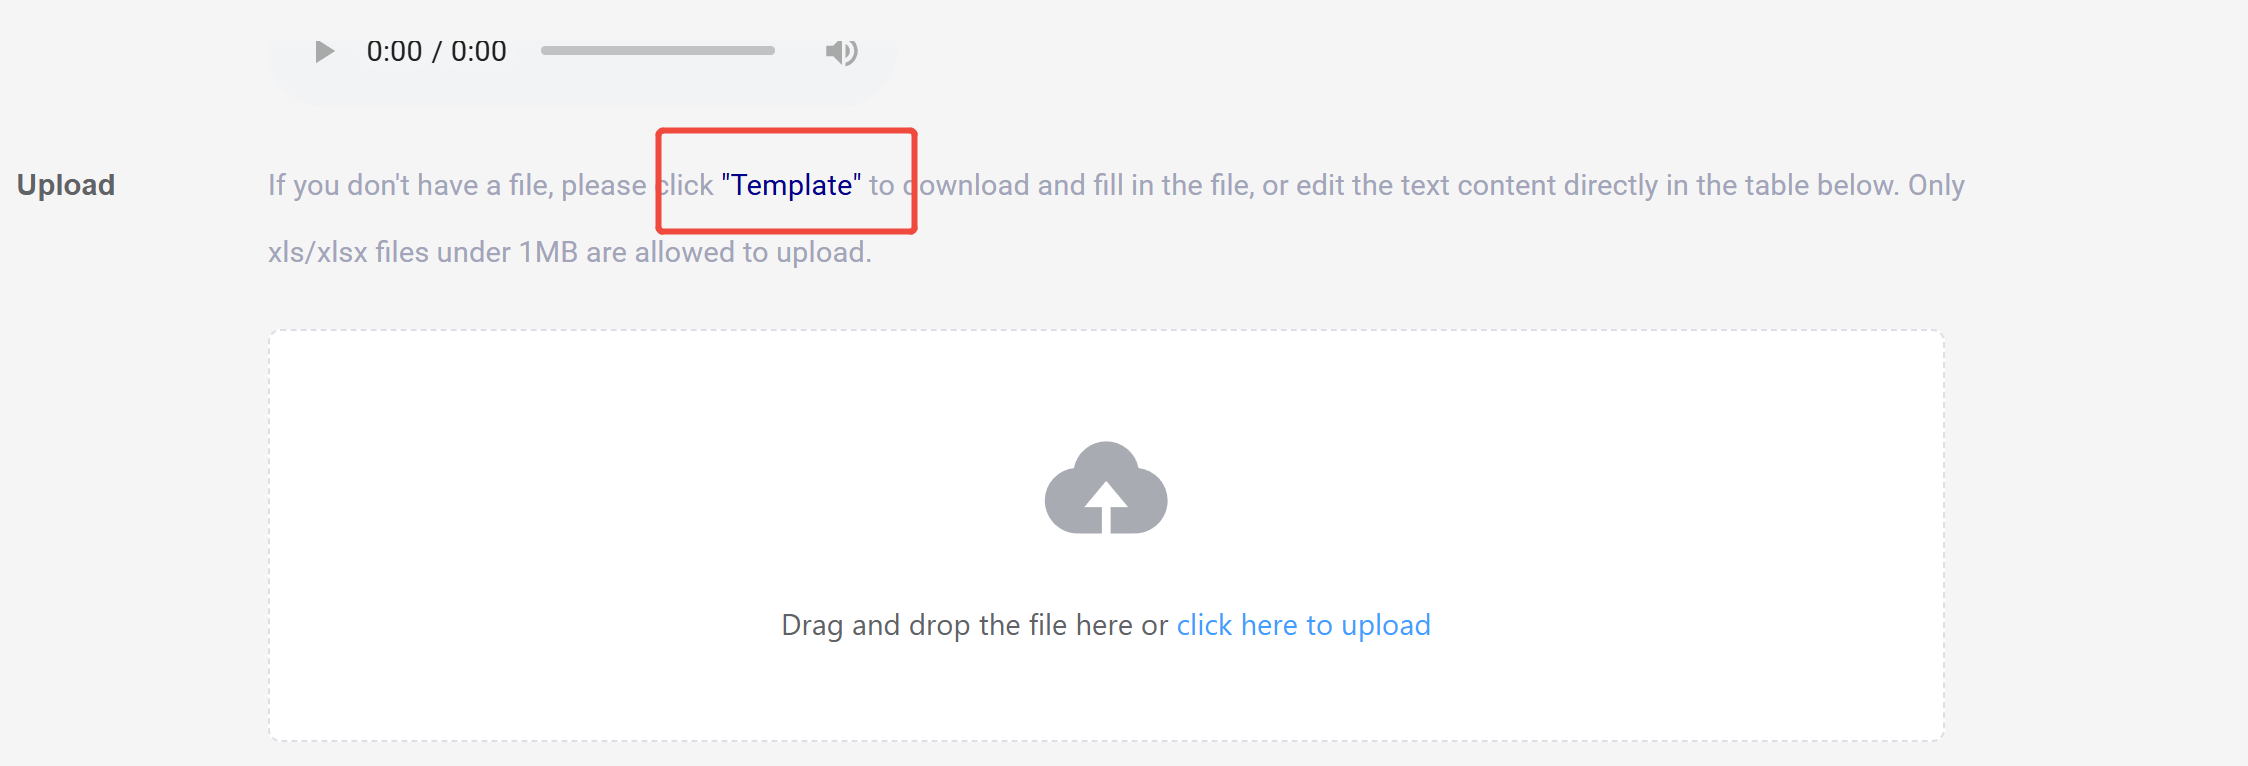
1.1.4. Add Voice Prompts
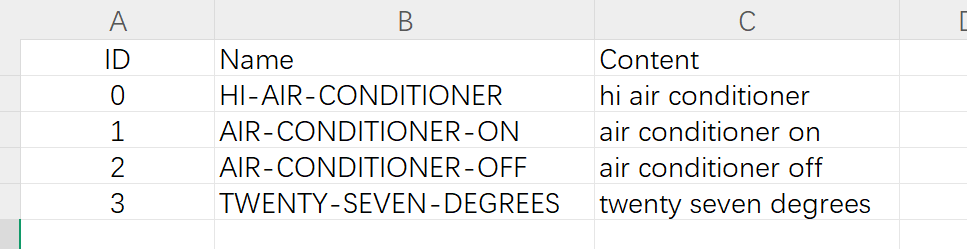
a. Add voice prompts directly on the platform, or download the “Template” and edit the voice prompts in the excel spreadsheet.
b. ID: Specifies the ID number of the generated audio file.
c. Name: Specifies the filename of the generated audio file
d. Content: Content corresponding to the voice
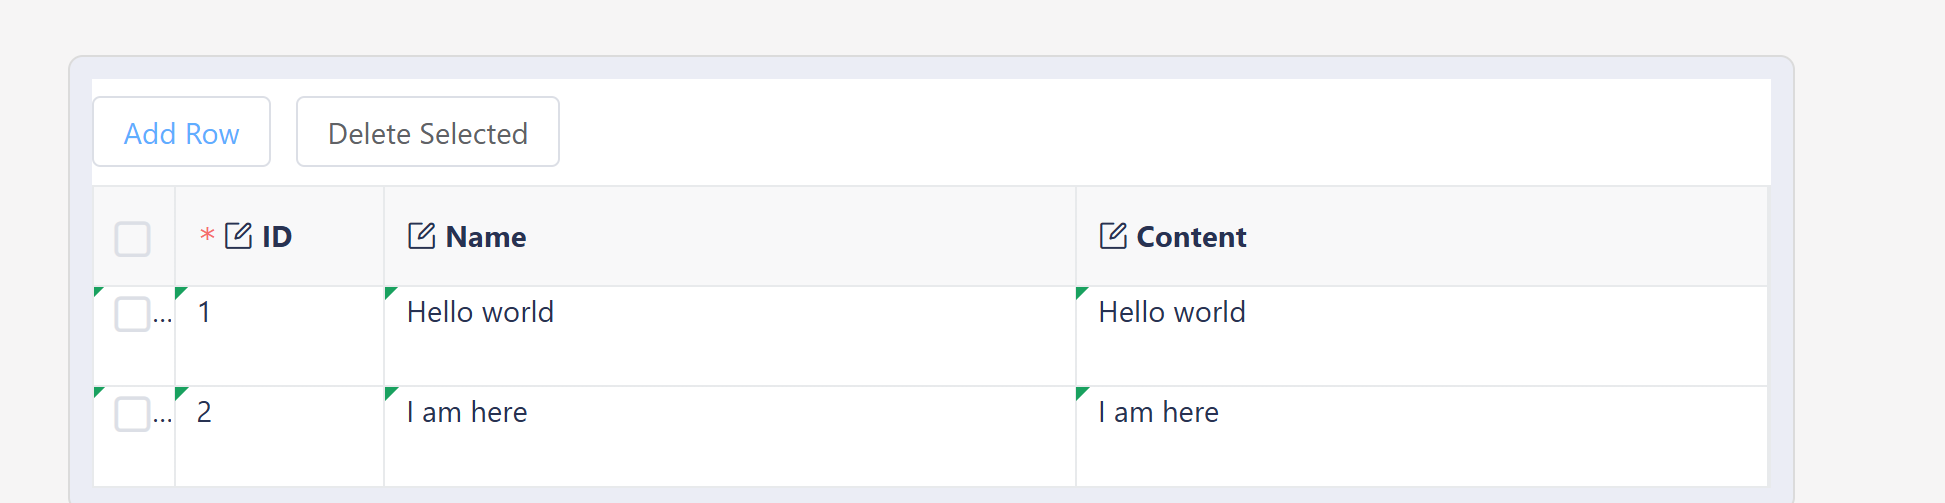
e. If there are only a few voice prompts, you can click “Add Row” in the area below, make edits, and submit.
1.2. Using User-defined Audio as Voice Prompts
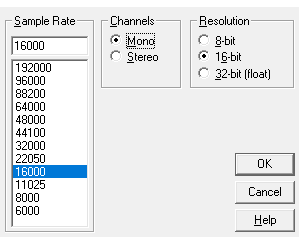
1.2.1 The chip has a built-in MP3 decoder. First, convert audios in other formats to WAV format with a sample rate of 16,000 Hz, mono, and 16-bit sample depth using audio conversion tools.
1.2.2 Place the converted voice prompt files in this path: projects\offline_asr_alg_pro_sample (path slightly vary by SDK)\firmware\voice\src\, then click make_partition_bin.bat. The converted MP3 files will appear in the mp3 folder.
2. How to Use the Synthesized Voice Prompts
2.1. Place the synthesized voice prompt files in this path: projects\offline_asr_alg_pro_sample (path slightly vary by SDK)\firmware\voice\src\, then click make_partition_bin.bat. The converted MP3 files will appear in the mp3 folder.
2.2. Combined Playback: Combine two separate voice prompts to play together, for example: Audio1+Audio2, and they will play in sequence.
When developing voice prompts, there are some rules that can help reduce firmware size and save FLASH space. The SDK supports combined playback, allowing you to extract common words and create a single audio file. For example, with phrases like “turn on the TV,” “turn on the fan,” “turn on the desk lamp,” “turn on the living room light,” and “turn on the study light,” all containing the phrase “turn on,” you can make a separate audio file for “turn on” and associate it with the command words in the command word information table using combined playback.
For another example, with customizable name items, the power-on announcement might be “I am XXX, you can use XXX to wake me up.” This sentence can be split into 4 audio files:
- I am
- XXX
- You can use
- to wake me up
When associating the voice prompt ID in the command word information table, enter “1+2+3+2+4”.
Here, “XXX” can represent multiple names. By using the combined and selective playback features, you can choose what to play based on the program’s conditions, eliminating the need to generate a set of voice prompts for each name.

2.3. If there is too much delay between combined voice prompts during playback, it is recommended to first synthesize a complete announcement, then use audio editing tools to cut at the pauses between words. The positions marked by arrows in the image below indicate where pauses occur, making the final voice output sound more natural and smooth.

2.4. Random voice prompt: Random voice prompt can increase the flexibility of announcements. For example, after saying the wake word, the system can randomly respond with “I’m here,” “I’m present,” “Hello,” etc.
In the command word information table file, change “User_defined” to “Random” to achieve this effect.

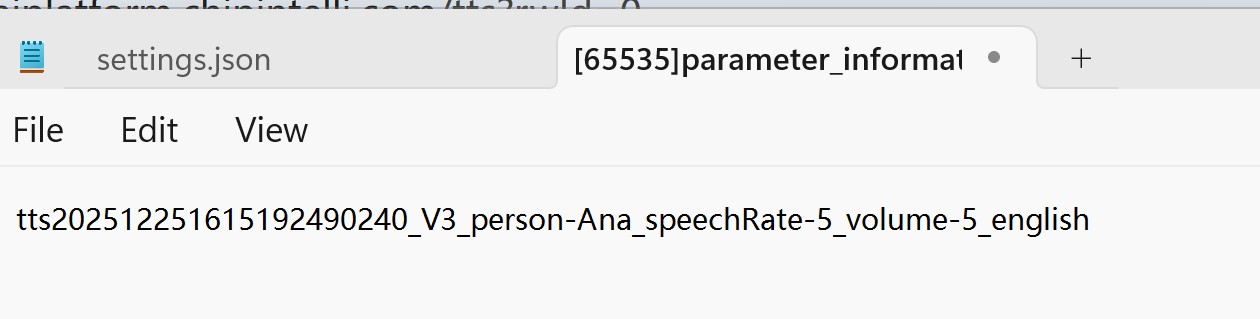
2.5. In the downloaded voice prompt folder, there is a file named “[65535]param_info_no_delete.wav”. Open it with Notepad software to view infomation such as the voice tone, speech rate, volume etc. This reference is most useful when you need to add more voice prompts later and have forgotten the original settings.